This guide provides a complete walkthrough on using Arduino to control LED segment displays, covering everything from basic principles to advanced techniques. Learn how to interface various types of displays, write effective code, and troubleshoot common issues. We'll explore different display types, libraries, and example projects to help you master Arduino LED segment displays.
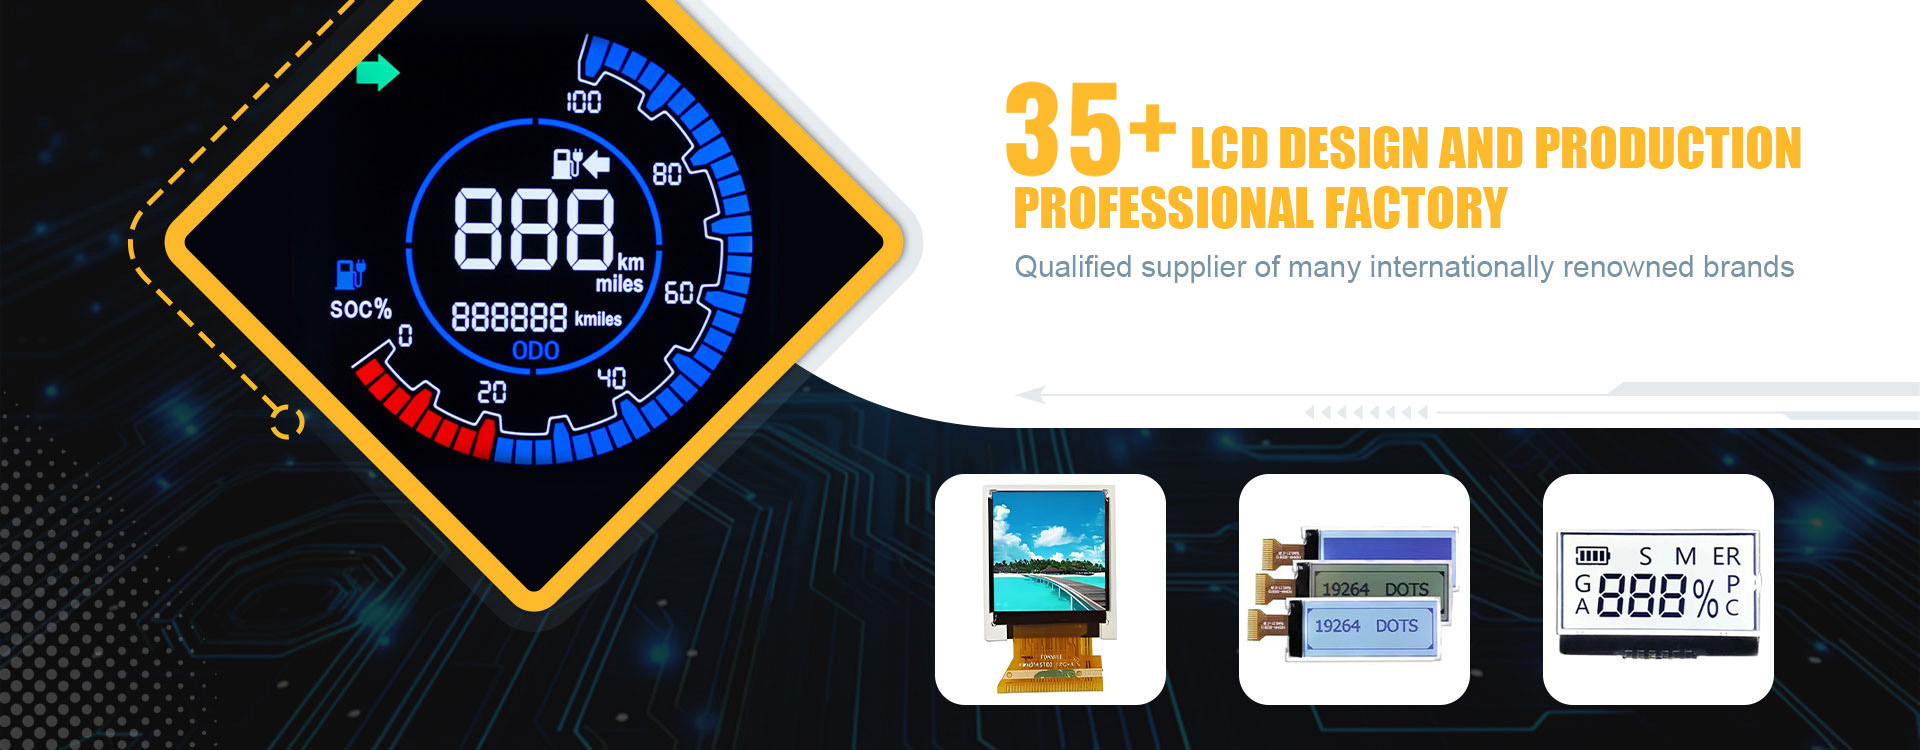
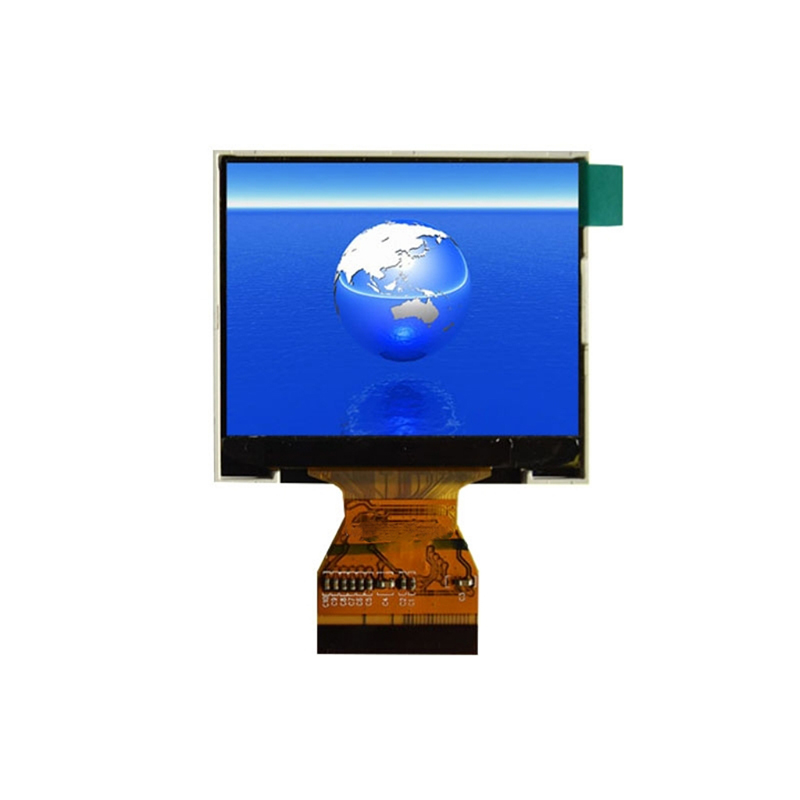
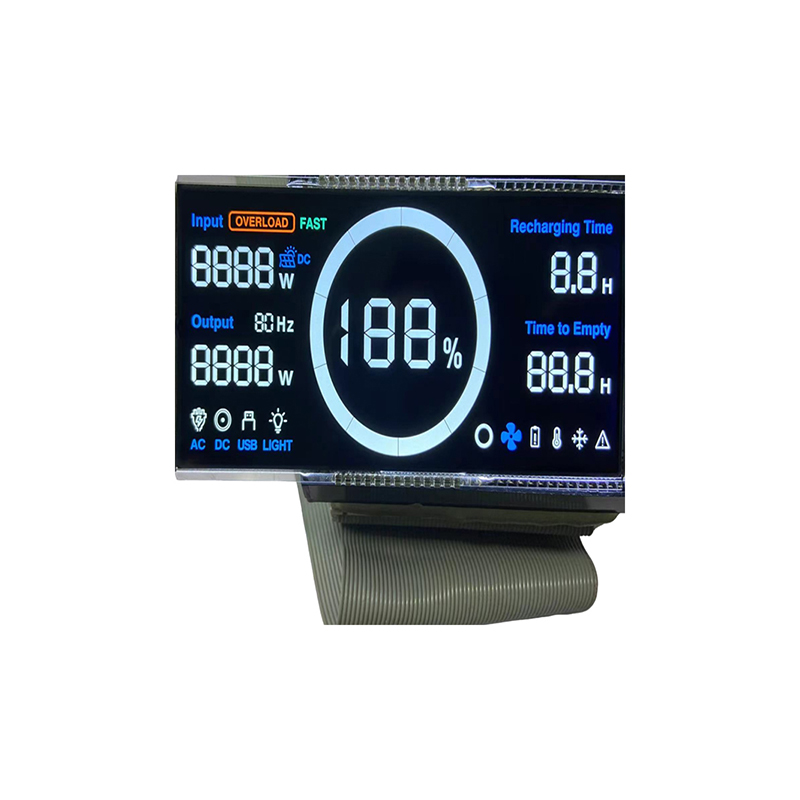
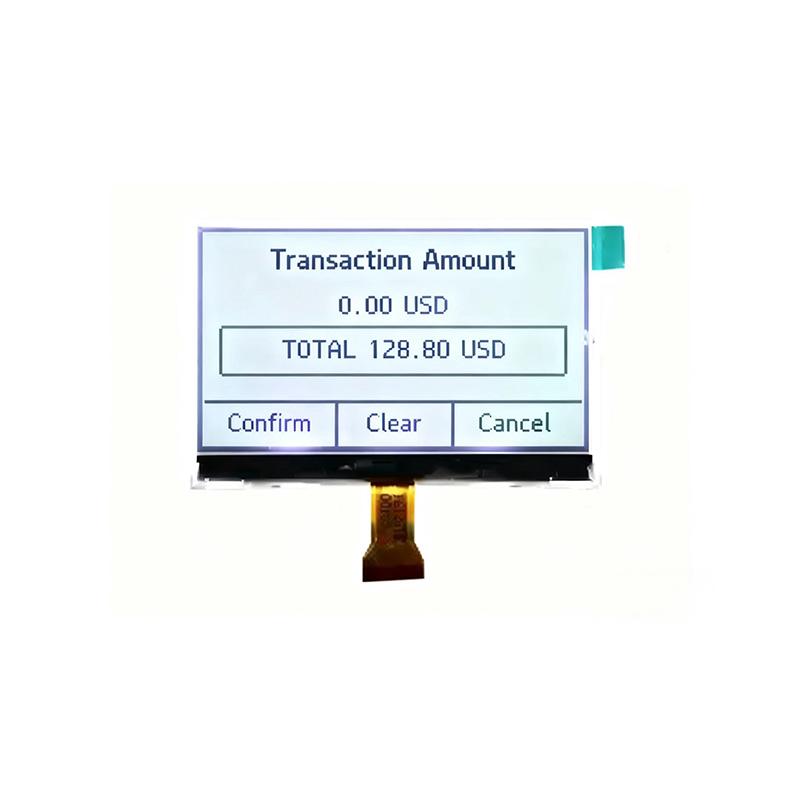
LED segment displays come in various configurations, most commonly seven-segment and fourteen-segment displays. Seven-segment displays can show numbers 0-9 and some letters, while fourteen-segment displays offer greater character representation. Choosing the right type depends on your project requirements. Consider the size, brightness, and viewing angle needed for your application. For high-brightness applications, you might want to consider displays from reputable suppliers like Dalian Eastern Display Co., Ltd. which offers a wide range of LED solutions.
Many Arduino LED segment displays use common anode or common cathode configurations. Understanding this distinction is crucial for wiring and programming. A common anode connects all the anodes together, while a common cathode connects all the cathodes. This impacts how you control the segments to illuminate the desired digit.
Connecting your display requires careful attention to detail. You'll need to connect the individual segments (a-g) and the decimal point (if present) to digital pins on your Arduino. Consult your display's datasheet for pin assignments. Remember to consider the current limitations of your Arduino and use appropriate current-limiting resistors to prevent damage to your components. Incorrect wiring can lead to display malfunction or even damage to the Arduino.
Using the correct resistor value is essential to protect your Arduino LED segment display and ensure proper brightness. The required resistance depends on the forward voltage and current of the LEDs used in the display. Consult the display's datasheet for specifications and use an online resistor calculator to determine the appropriate value. Too little resistance can burn out the LEDs, while too much will result in dim or unreadable digits. Always double-check your calculations before connecting the display.
Several Arduino libraries simplify controlling LED segment displays. These libraries handle the complexities of managing individual segments and offer helpful functions for displaying numbers and characters. Popular choices include the SevSeg library. These libraries significantly reduce the amount of code you need to write and improve code readability.
//Include the necessary library#include SevSeg.h//Define the pins connected to the displaySevSeg sevseg; //Instantiate a SevSeg objectvoid setup() { //Define the pin numbers for the display segments byte numDigits = 4; //Number of digits on the display byte digitPins[] = {2, 3, 4, 5}; byte segmentPins[] = {6, 7, 8, 9, 10, 11, 12}; sevseg.begin(COMMON_ANODE, numDigits, digitPins, segmentPins); //Initialize the display}void loop() { for (int i = 0; i <= 9999; i++) { sevseg.displayDigits(i); //Display the counter value delay(100); }}If your display isn't working correctly, check your wiring, resistor values, and code. Ensure your power supply is adequate and that you've correctly initialized the display in your code. Consult the Arduino forum or online resources for assistance if you encounter specific problems.
Controlling multiple Arduino LED segment displays is achievable with careful planning and code organization. You'll need to manage the timing of data sent to each display to avoid conflicts. Using multiplexing techniques can efficiently manage multiple displays without requiring a large number of Arduino pins.
Some displays allow for the creation of custom characters. This involves modifying the display's internal configuration to represent symbols not natively supported by the display. You can find information about your particular display's custom character capabilities in its datasheet. This allows your project to display a wider array of information.
| Feature | Seven-Segment | Fourteen-Segment |
|---|---|---|
| Character Set | Numbers 0-9, limited letters | Larger character set including more letters and symbols |
| Complexity | Simpler to control | More complex control |
| Cost | Generally less expensive | Generally more expensive |
This guide provides a foundation for working with Arduino LED segment displays. Remember to consult your specific display's datasheet for detailed specifications and always use appropriate safety precautions when working with electronics.